Step 3: Send Files
Once you are logged in, you can send files. Files are bundled into a ZIP archive and a download URL is issued.
Sending Flow
1. Click "Upload" in the sidebar
      ↓
2. Enter sending details (From, To, Title)
      ↓
3. Add files
      ↓
4. Click the "Upload" button
      ↓
5. A download URL is displayed → Notify the recipient
3-1. Open the Send Files Screen
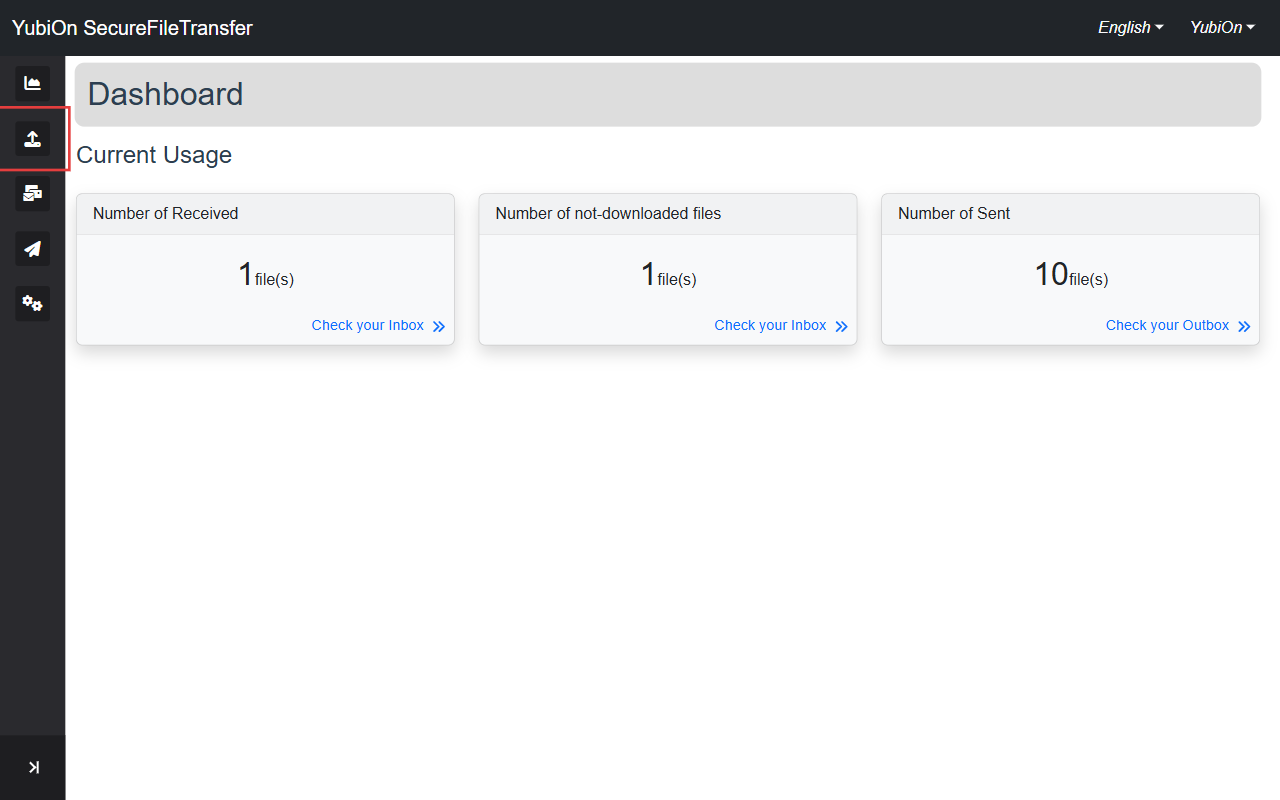
After logging in, click "Upload" in the left sidebar.
3-2. Enter Sending Details
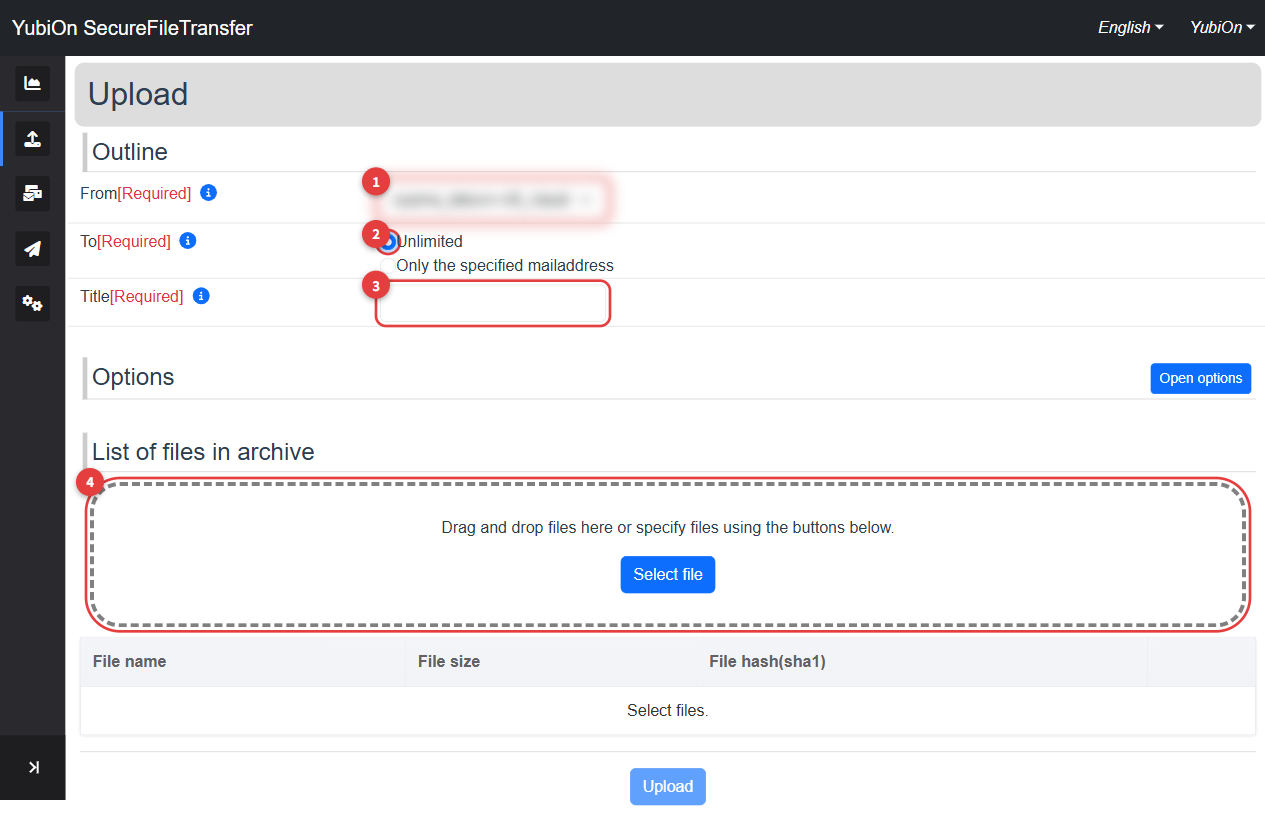
| Point | Field | Description |
|---|---|---|
| ① | From | Select the sender's address from the dropdown |
| ② | Recipient | Choose Unlimited or Only the specified mailaddress |
| ③ | Title | Name of the file set (required, up to 128 characters) |
| ④ | File area | Add files by drag & drop or clicking "Select file" |
From Settings
Select the sender's email address from the dropdown. If multiple email addresses are registered to your account, you can switch between them here.
Recipient Settings
Specify who can receive the file.
| Setting | Description |
|---|---|
| Unlimited | Anyone who knows the download URL can download |
| Only the specified mailaddress | Only users logged in with the specified mailaddress can download |
If you choose to specify email addresses, enter the recipient's address. Use the "+" button to add multiple addresses.
Title
| Field | Description | Limit |
|---|---|---|
| Title | Name of the file set (also shown to the recipient) | Up to 128 characters, required |
3-3. Configure Options (Optional)
Expand the "Options" section for additional settings.
| Option | Description | Notes |
|---|---|---|
| Days available for download | Number of days the file can be downloaded | Free: Fixed / Paid: Configurable |
| Number of downloads possible | Maximum number of downloads | Free: Fixed / Paid: Configurable |
| ZIP Encryption | Create a password-protected ZIP | Free: N/A / Paid: Selectable |
If you select Encryption, set a password for the recipient to use when extracting the archive. Send the password to the recipient via a separate channel (e.g., email).
3-4. Add Files
There are two ways to add files:
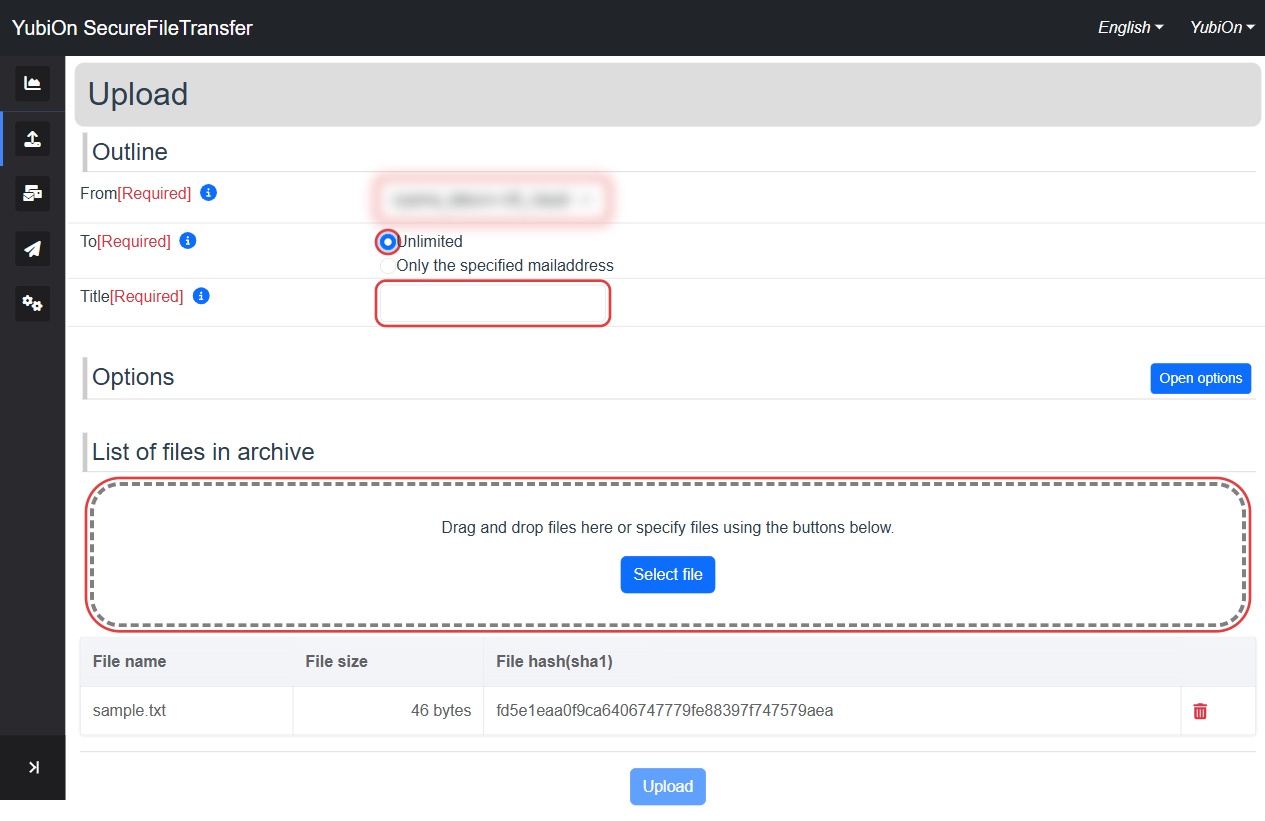
- Drag & Drop: Drag files into the dotted area
- File Selection: Click the "Select file" button to choose files
Added files are shown in a list. Click the trash icon to remove unwanted files.
Directories cannot be sent
Folders (directories) cannot be dragged and dropped. If you need to send a folder, compress it into a ZIP archive first.
File Size Limit
There is a limit to the total file size that can be uploaded. An error will be shown if the limit is exceeded.
3-5. Send
- Click the "Upload" button
- Click "OK" in the confirmation dialog
- File compression and upload will begin (a progress bar will be displayed)
- When complete, the download URL will be shown
3-6. Notify the Recipient
After the upload is complete, the following will be displayed:
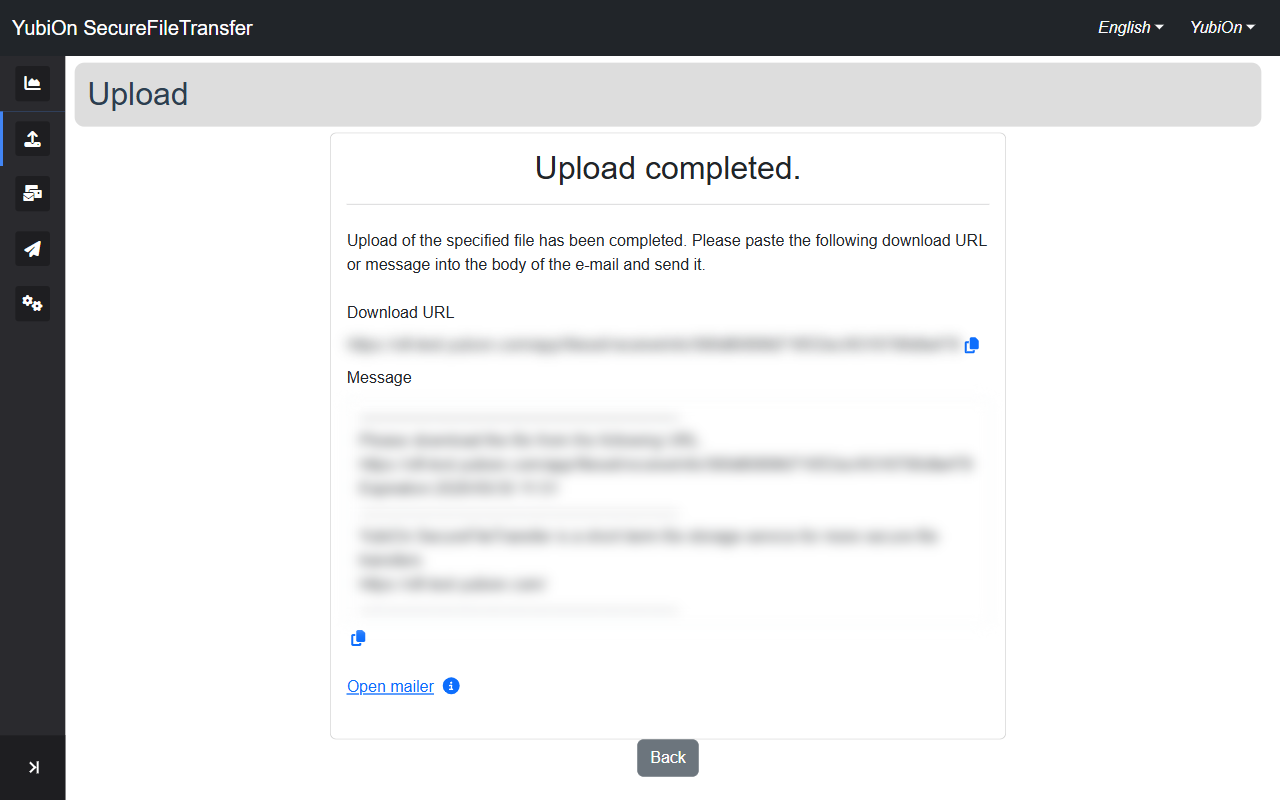
| Item | Description |
|---|---|
| Download URL | The URL to share with the recipient (with copy button) |
| Message | A ready-made email body including the URL (with copy button) |
| Open mailer | Opens your default email app with the message pre-filled |
Share the download URL with the recipient. If you specified email addresses, the recipient must log in with that address to download.
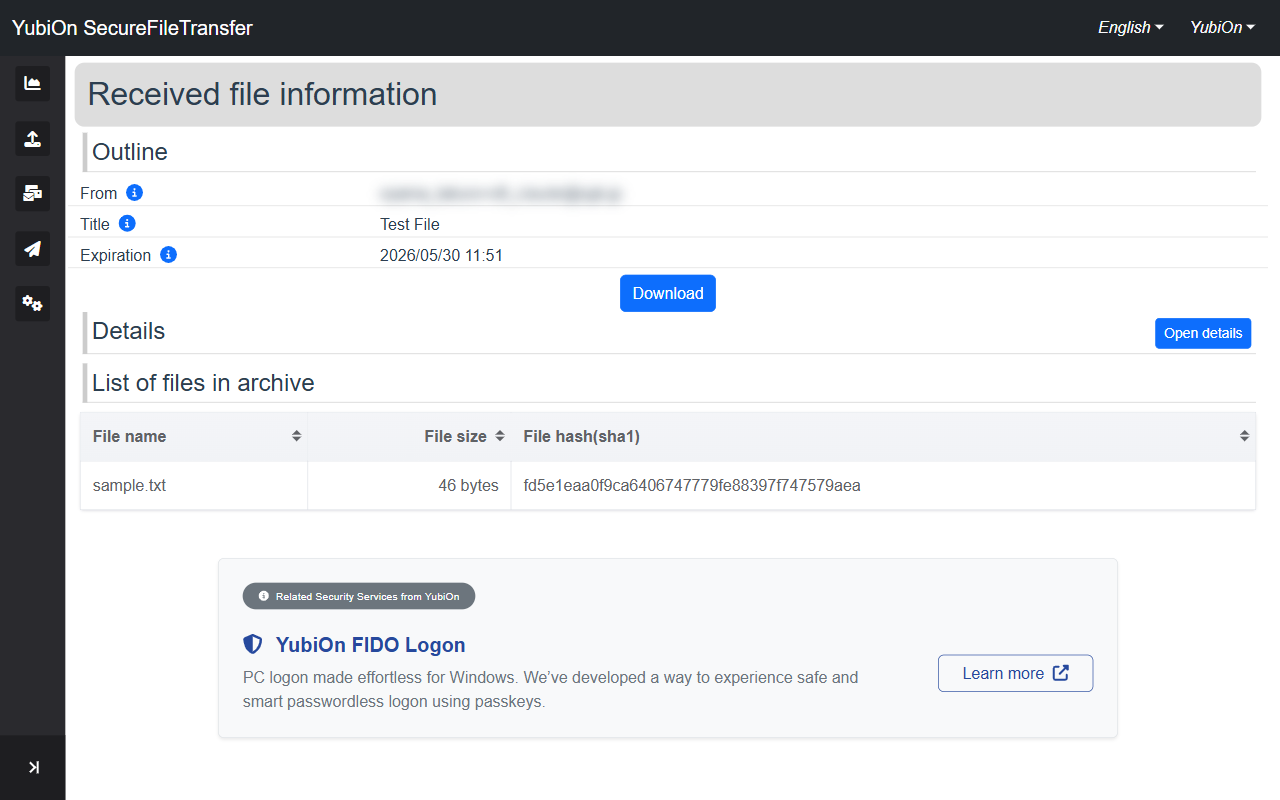
When the recipient opens the download URL, they will see a page like this:
View Sending History
You can review sent files from "Outbox" in the sidebar. Click a title to view details such as recipients, expiration date, and download count.